A pease of filament broke right after the filament buffer of my AMS. Here is a youtube clip from Bambu Lab how te release it:
https://wiki.bambulab.com/en/x1/troubleshooting/broken-filament-anywhere
A pease of filament broke right after the filament buffer of my AMS. Here is a youtube clip from Bambu Lab how te release it:
https://wiki.bambulab.com/en/x1/troubleshooting/broken-filament-anywhere
Found this list on a facebook page. Removed the deadlinks and
Lithos
3dp.rocks
itslitho.com
lithophanemaker.com
CAD software
cookiecad.com
Objects
3dcadbrowser.com
3dcontentcentral.com/
3dexport.com
3dkitbash.com
nih.gov – 3d
cgtrader.com
cults3d.com
crealitycloud.com
wixsite.com – dtrstudio3d
fab365.net
free3D.com/
free3D.io/
zortrax.com – library
nasa.gov – nasa3d.arc
nikkoindustries.com
pinshape.com
Printables
repables.com
sketchfab.com
spriters-resource.com – models
redpah.com
Threeding.com/
thingiverse.com/
Tinkercad.com
Treatstock.com
turbosquid.com
yeggi.com
YouMagine.com
Indexer
stlfinder.com
three-drop.com
I’ve bought a 3D printer a couple of years ago. Although i’ve read a lot pages and info, i forget a lot of info. That’s not because of the information, but sometimes that’s how my brain works. Here I note al the info, a short explanation (2 lines max) and maybe a link to the article.
This document will never be complete, and maybe the explanation will also not 100% correct, but maybe it can help you, I know it will help me.
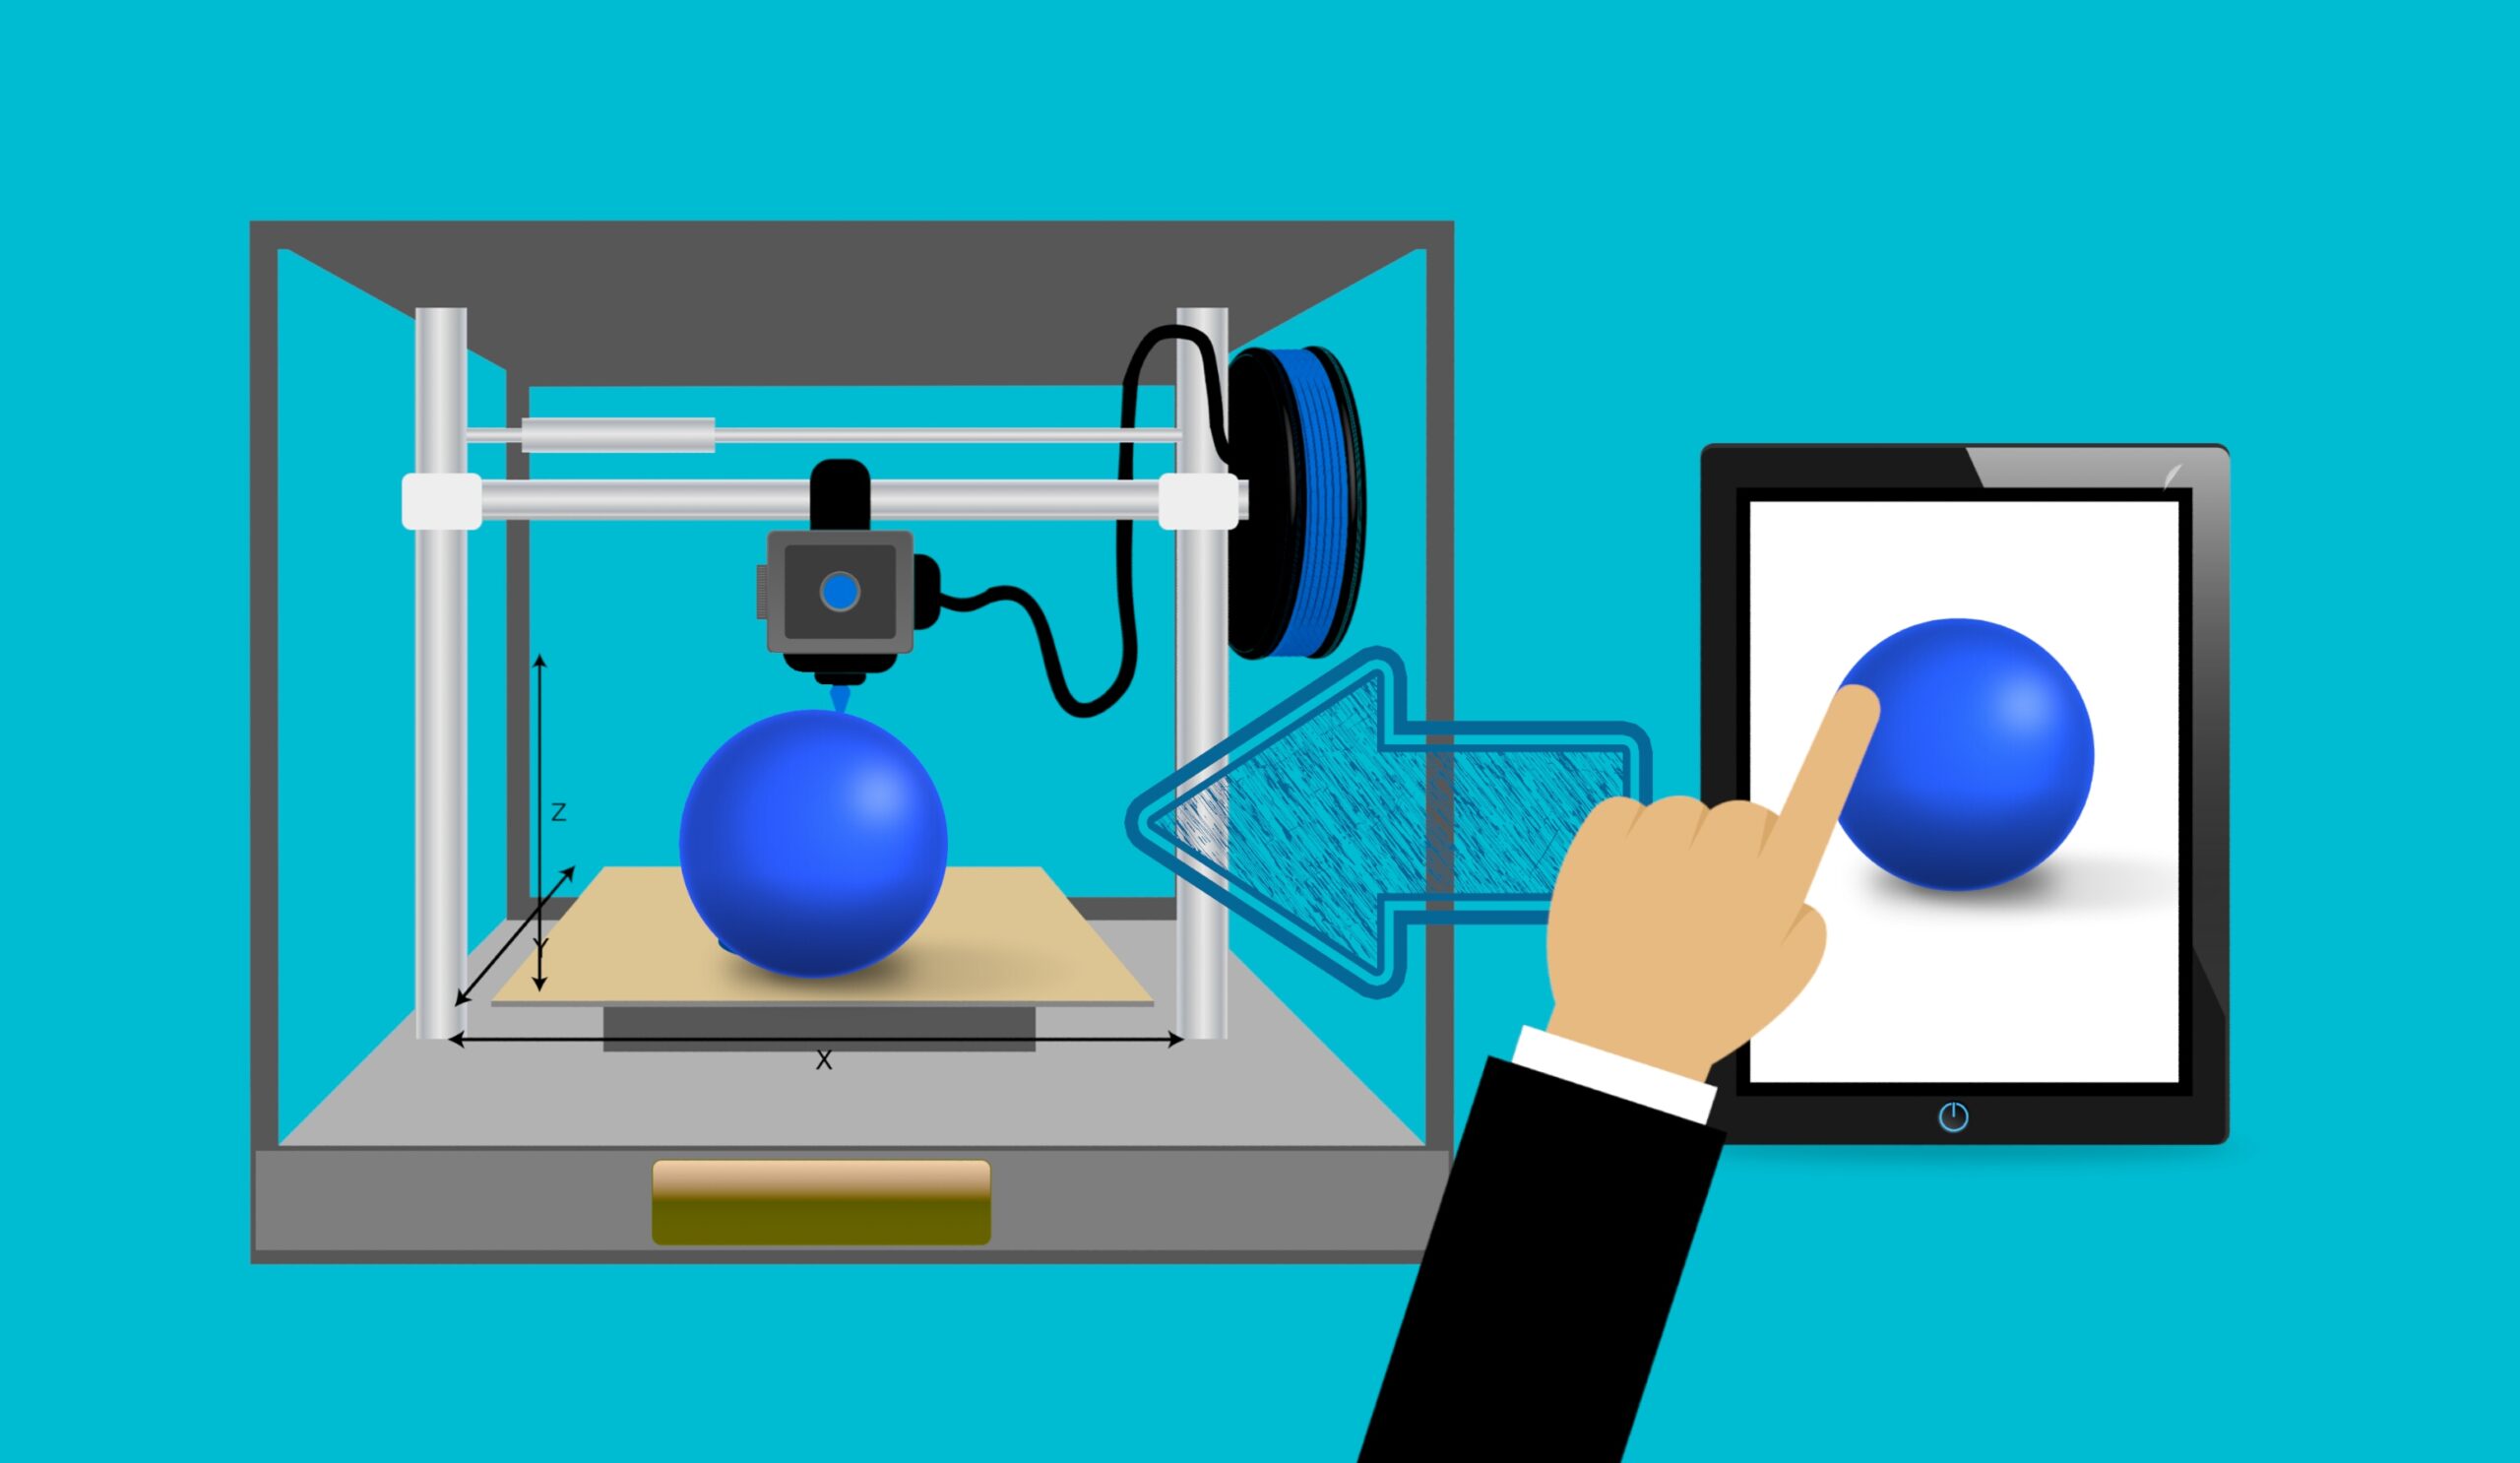
3D Printing type
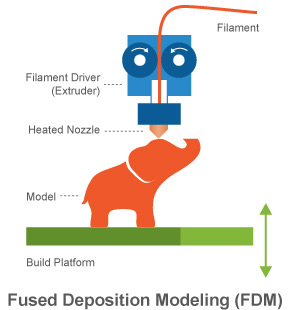
3D Printing Material
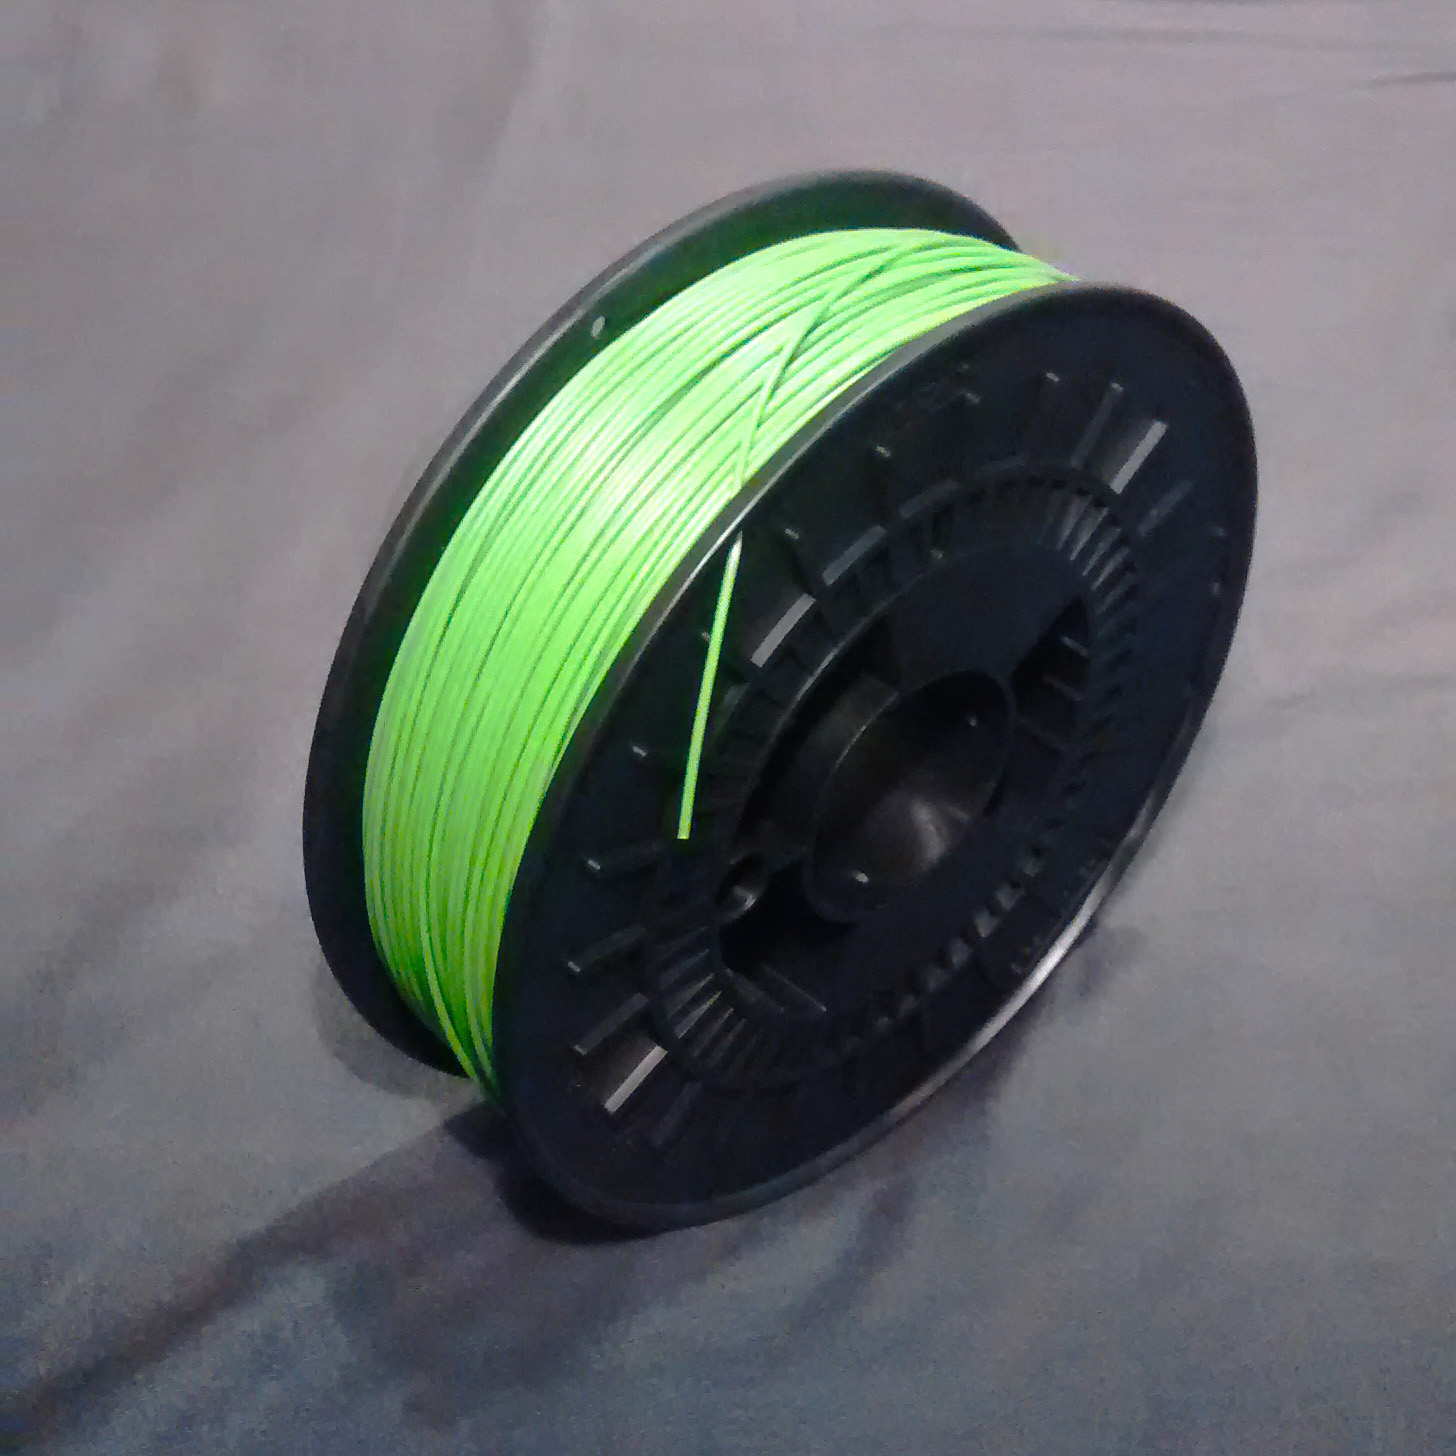
3D Printing techniques
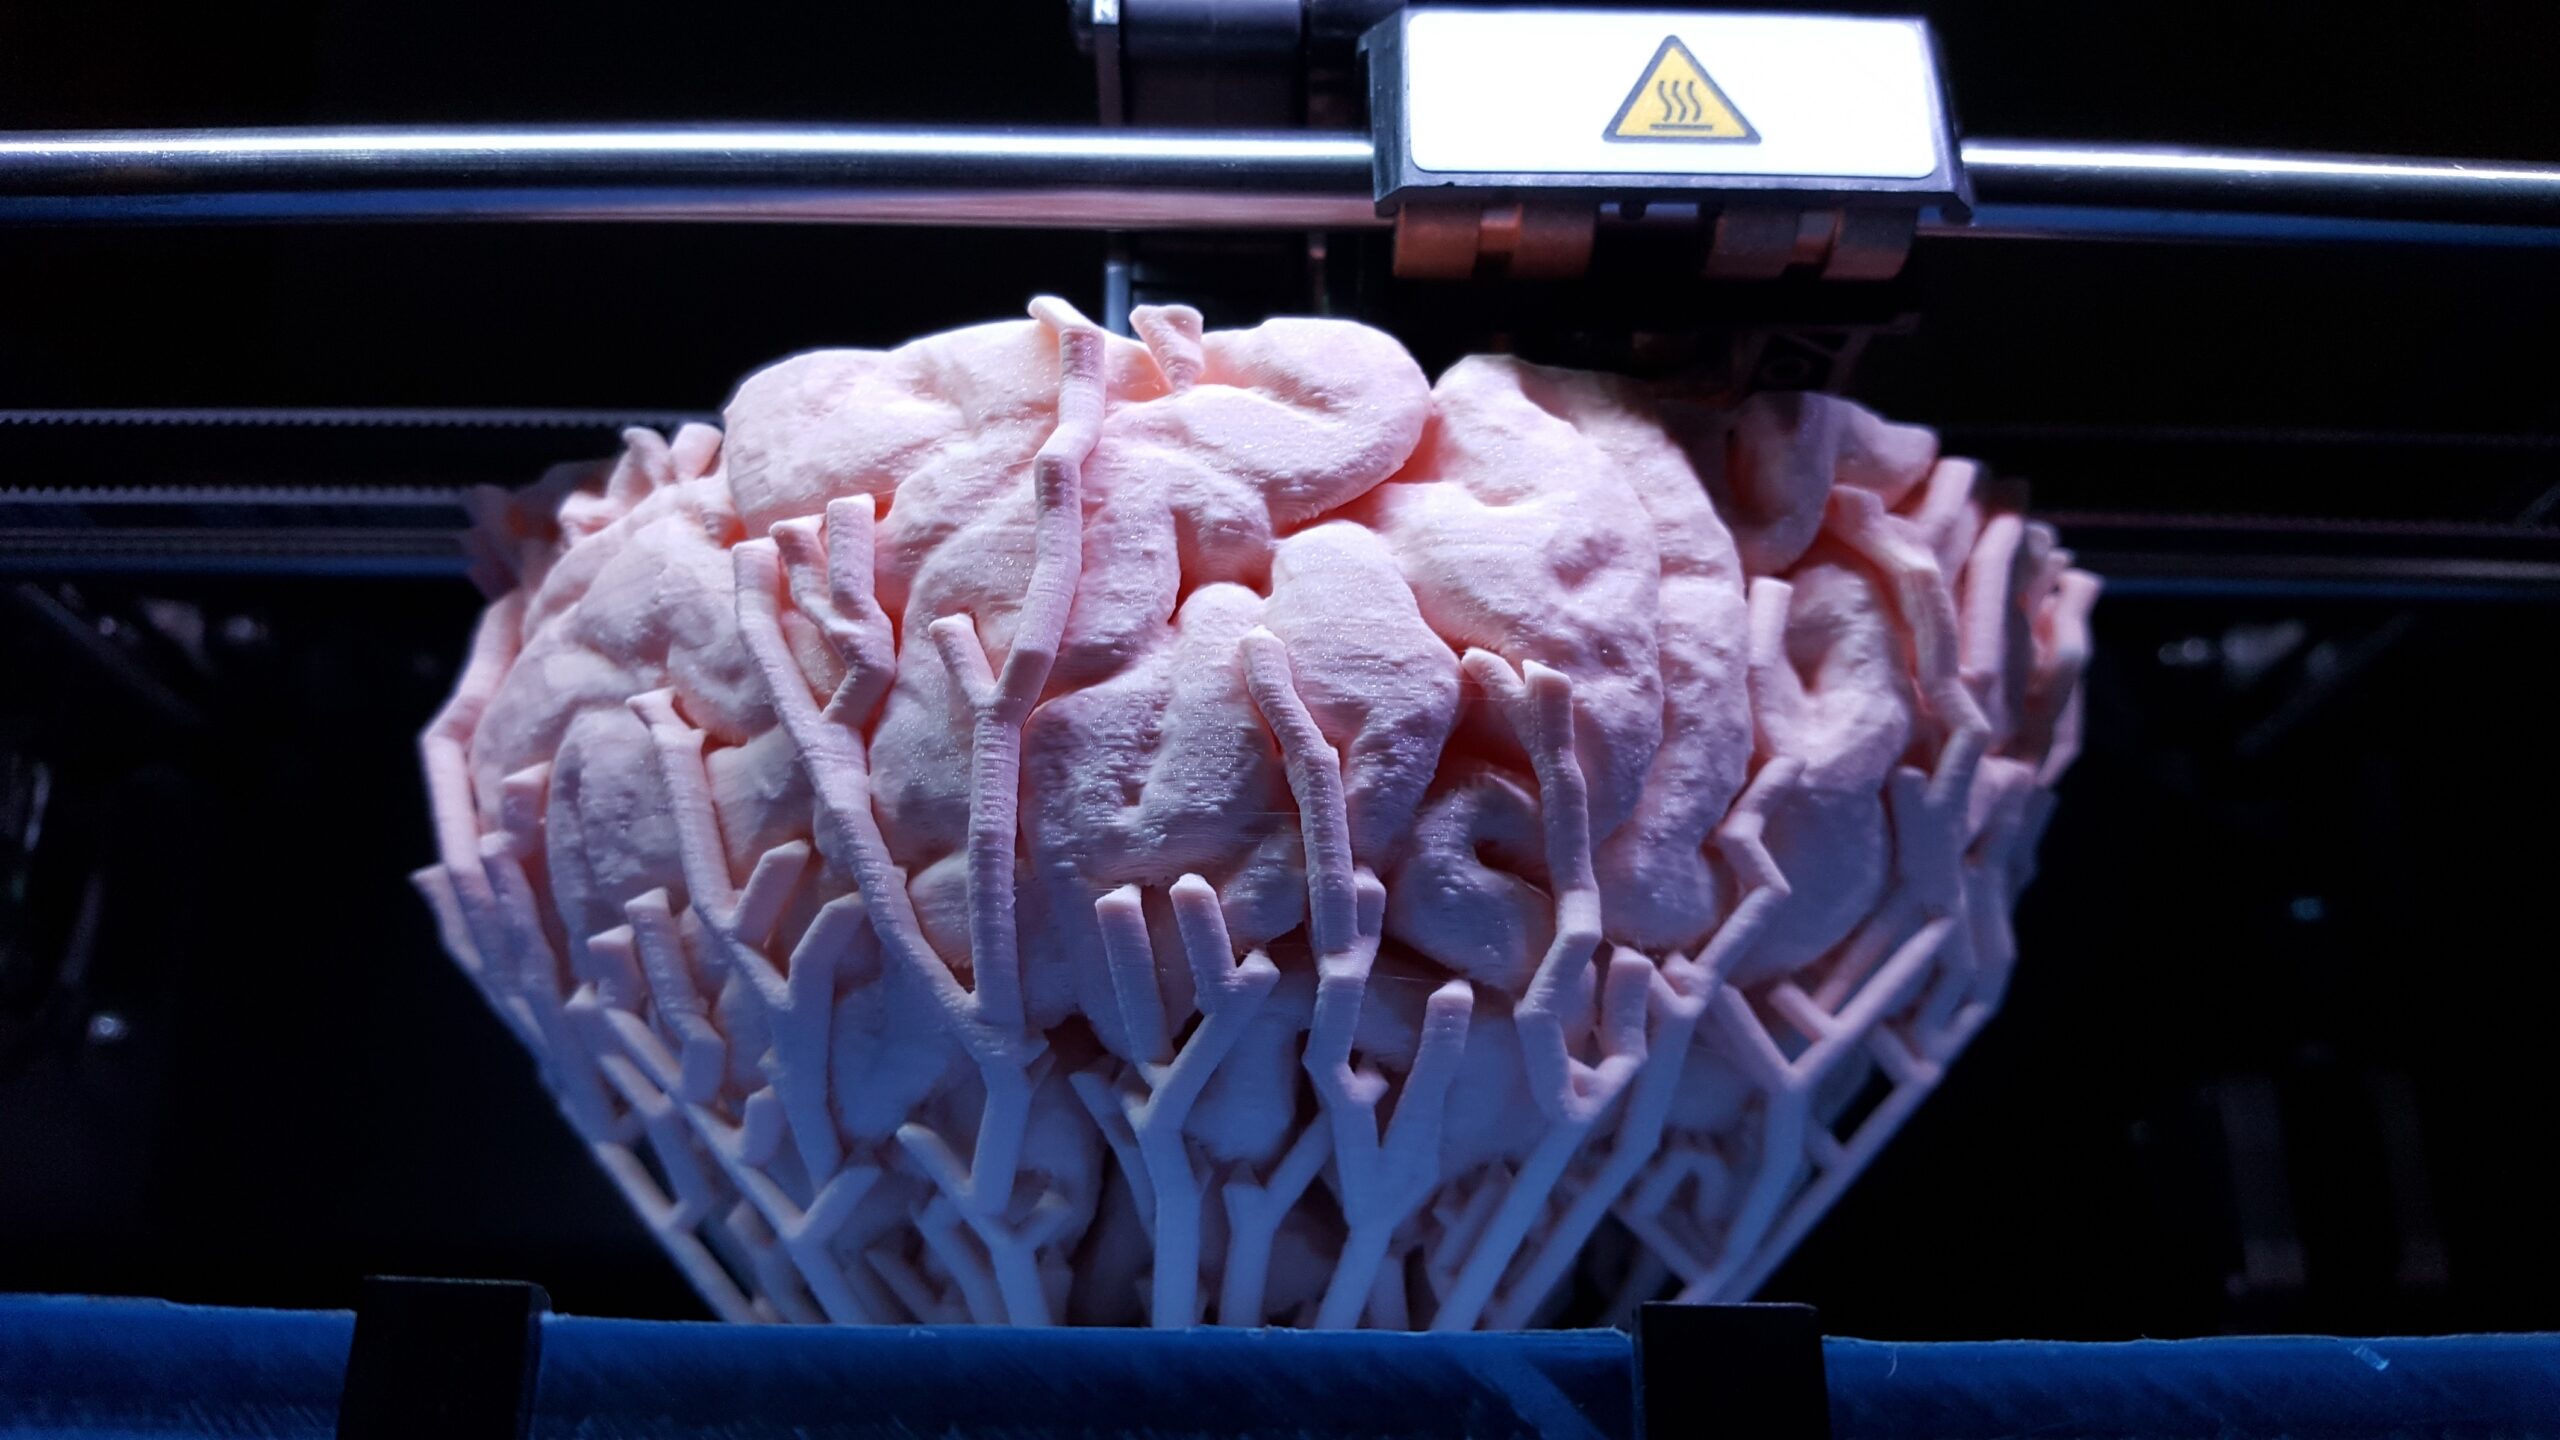
3D Printing software (Slicer)
Slicers convert a 3d object to a printable object. A slicer also adds settings for the 3D printer, like temperature bed temperature, layer height.
3D objects portals
3D Indexers
3D printing techniques
Youtube – Makers Muse
3D Benchmarks
A while back (i think at least 1.5 years ago) i bought a second hand printer. It was an upgraded Anet AM8. Although i wanted one for a while, i just was hesitant to start using it. Thought i needed some kind of checklist for the first time to run it, just to make sure i did everything OK. And guess what, there isn’t any. Last Tuesday we had a national Holiday (kings-day) and i just thought: Just start the damn thing!
Created a test cube using Prusiaslicer, imported in pronterface and started printing. The base layer was OK, but after a wile is saw that there were no additional layers added. After checking if there was any filament was extruded i saw nothing. I also didn’t see any hole any more, don’t really know what happend. I tink the bed and nozzle hit each other, but my knowledge is yet big enough.
Ordered a couple of new nozzles and they came in today. I wanted to change the nozzle so i lifted the z axis, and noticed that the right lead screw jammed a lot in the first 5 cm’s. First thought it would be de lead screw itself, so released it and turned it upside down and tried again, same issue. Then released the tension on all the screws of the coupler and fastened them again, still the same issue. In a way i had the idea that the stepper motor and the nut that attaches to the horizontal bracket weren’t aligned. So removed 3 screws that held the stepper motor in place and released the 4th one so the stepper motor could rotate and set itself. Moved the horizontal bracket 10 cm up and down, no problem. Moved the bracket 10 cm up, attached one screw to set the stepper motor more stable in it’s place. Moved the horizontal bar down and up again, no problem, new screw, and then again. Everything goes like a dream again.
Because i was afraid there would be filament stuck in the heatsink. Attached the new nozzle and cranked up the temp to 285C, so i could push filament through the hot end….. At 80C the printer stopped functioning with a temp warning that i had te reset the device. Tried everything, checked all cables, until i found the page of Hobby Hoarder, where he explained how the hot end, heat break and nozzle should be attached. Apparently somehow i screwed the hot end and heat break against each other. And the heat break is made of aluminium, and so it cools the hot end very fast. After attaching the parts correctly the increase of temperature was very fast and it hit 285 without problems.
So what I’ve learned today:
Up to the next learning part.
One of the things i love to do is open up old hardware that needs to get scrapped. Reason is not to learn from it, but to see if i can reuse stuff from it. Mainly old pc’s i find interesting. Main boards i don’t really have a new use for, and even CPU’s i skip. I go straight for fan’s, hard disks, power supply and dvd burners (or higher).
Recently my parents called me that their hard disk recorder wasn’t working anymore. Luckily we got a new one, so the old one would move the bed room and the old one on the bed room would be scrapped. So with our old hard disk recorder i went to my parents house, swapped both devices and TV card and 2 minutes later they could watch TV again. I grabbed their old recorder and went back home. Never had the intention to retest the old recorder and put it away.
Last Saturday, when i almost killed myself, i was looking for the correct tools to open the recorder. I don’t have those security torx so i had to drill out the 3 screws on the back and got it open. Thank god the hard disk was only with Philips head screws, but i noticed something i didn’t expect from a company like Cisco (it was the Cisco 8485DVB btw), the hard disk was mounted upside down. When i was a little intern i once mounted a disk upside down, because the flat cables wasn’t long enough, well my colleague wasn’t amused about it. I never did that again. But back to the story: i never really checked what the size of the disk might be in that device and was really surprised when i found a 320 GB Western Digital (WD3200AAJS) in the recorder. It isn’t a really fast disk, but if you want to create some backups, or use it to store music on them, it’s a nice peace hardware to retrieve from “old garbage”.
Ow and i also grabbed the front panel print board. Maybe i can reuse it for project or something or finally learn something about electronics. 😉
PS. if you do this, there are a couple of things to remind(!):
– If you open up electronics, physically unplug them, and wait for a couple of hours. This is so all condensators are empty. I you touch them while they contain power, you can really get a shock.
– The hardware you don’t need, please recycle.